
✓Open and stabilize the tripod on level ground; work at a low height.
✓Use complete, clean parts without cracks or looseness. Check that the camera, clamp and tripod interfaces match.
Identify the parts
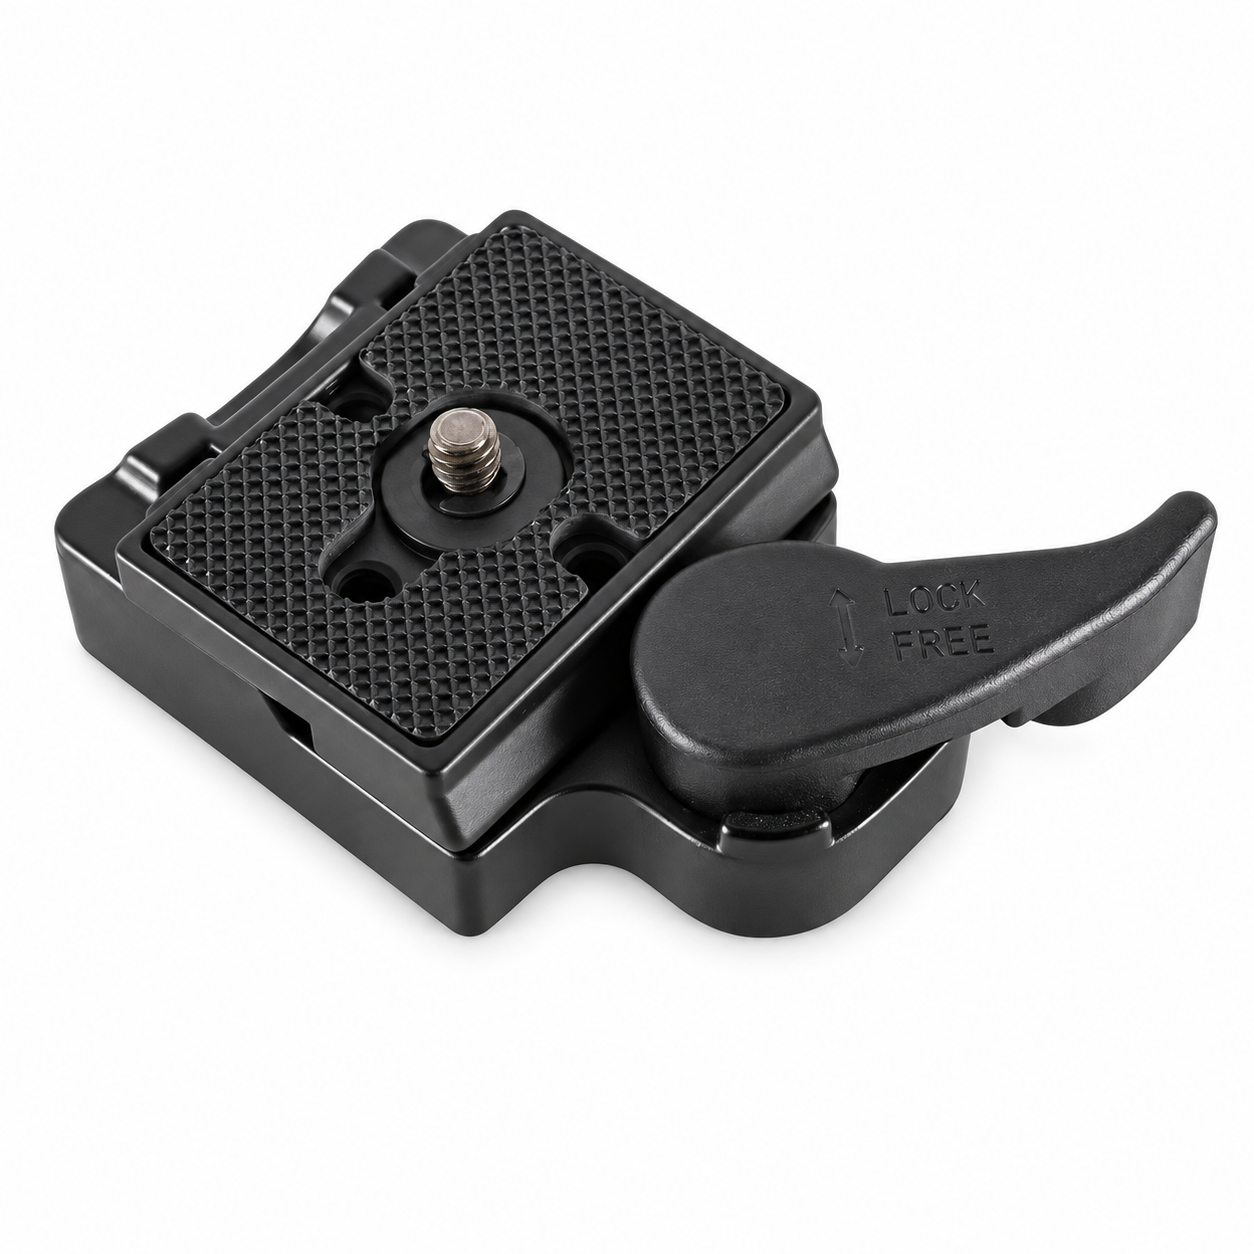
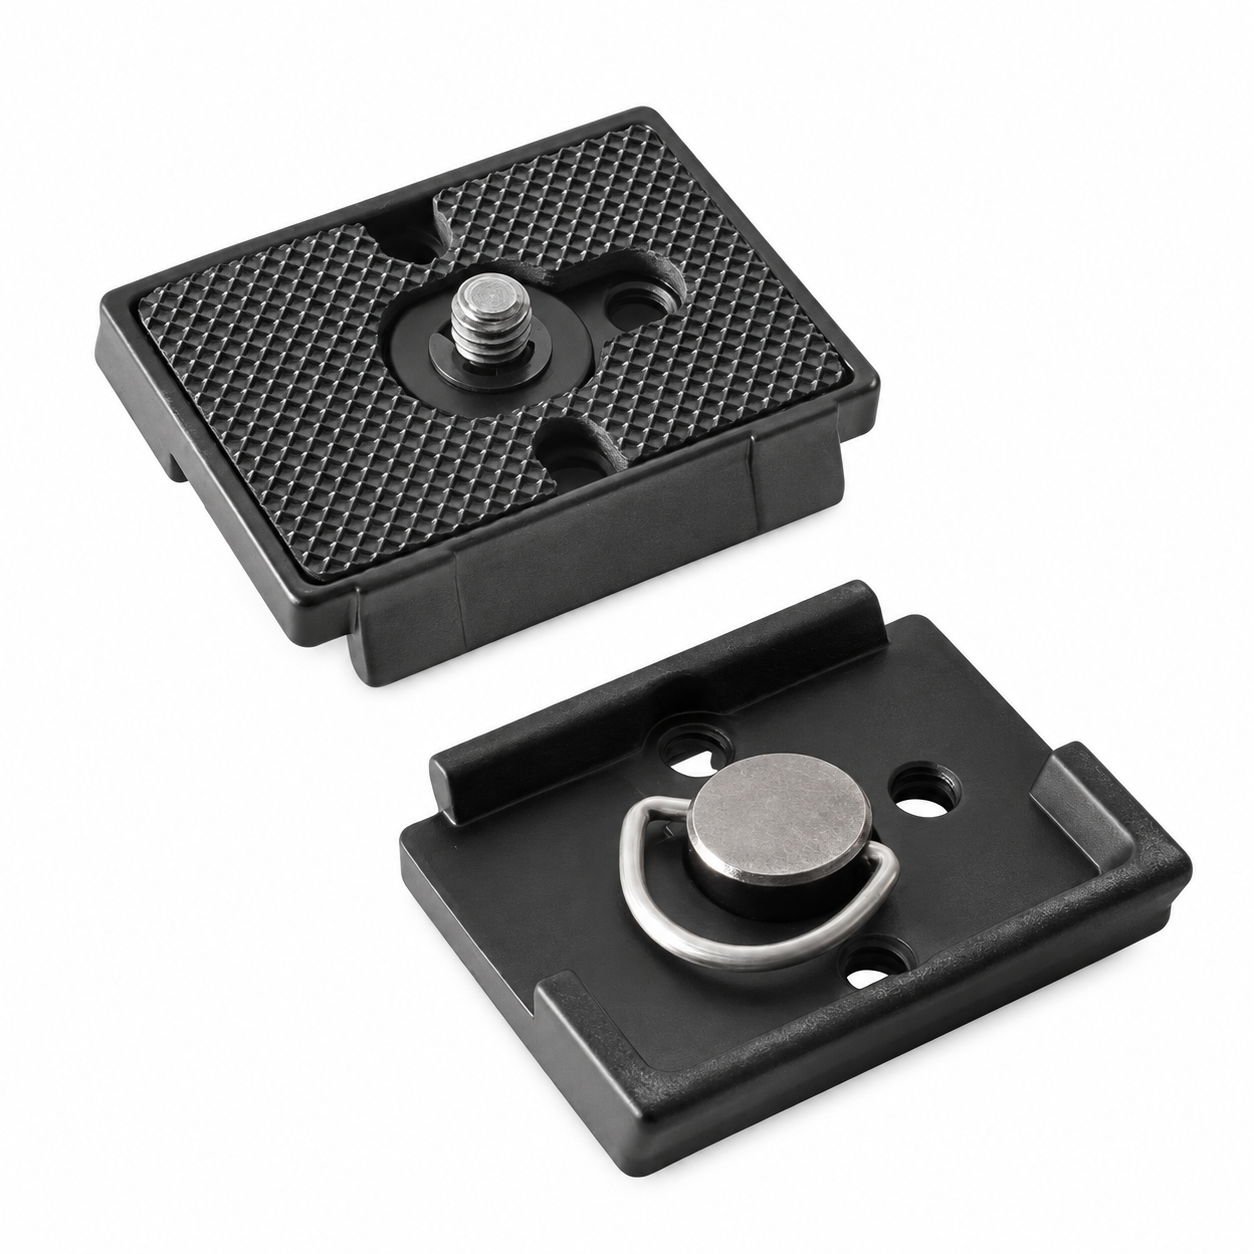
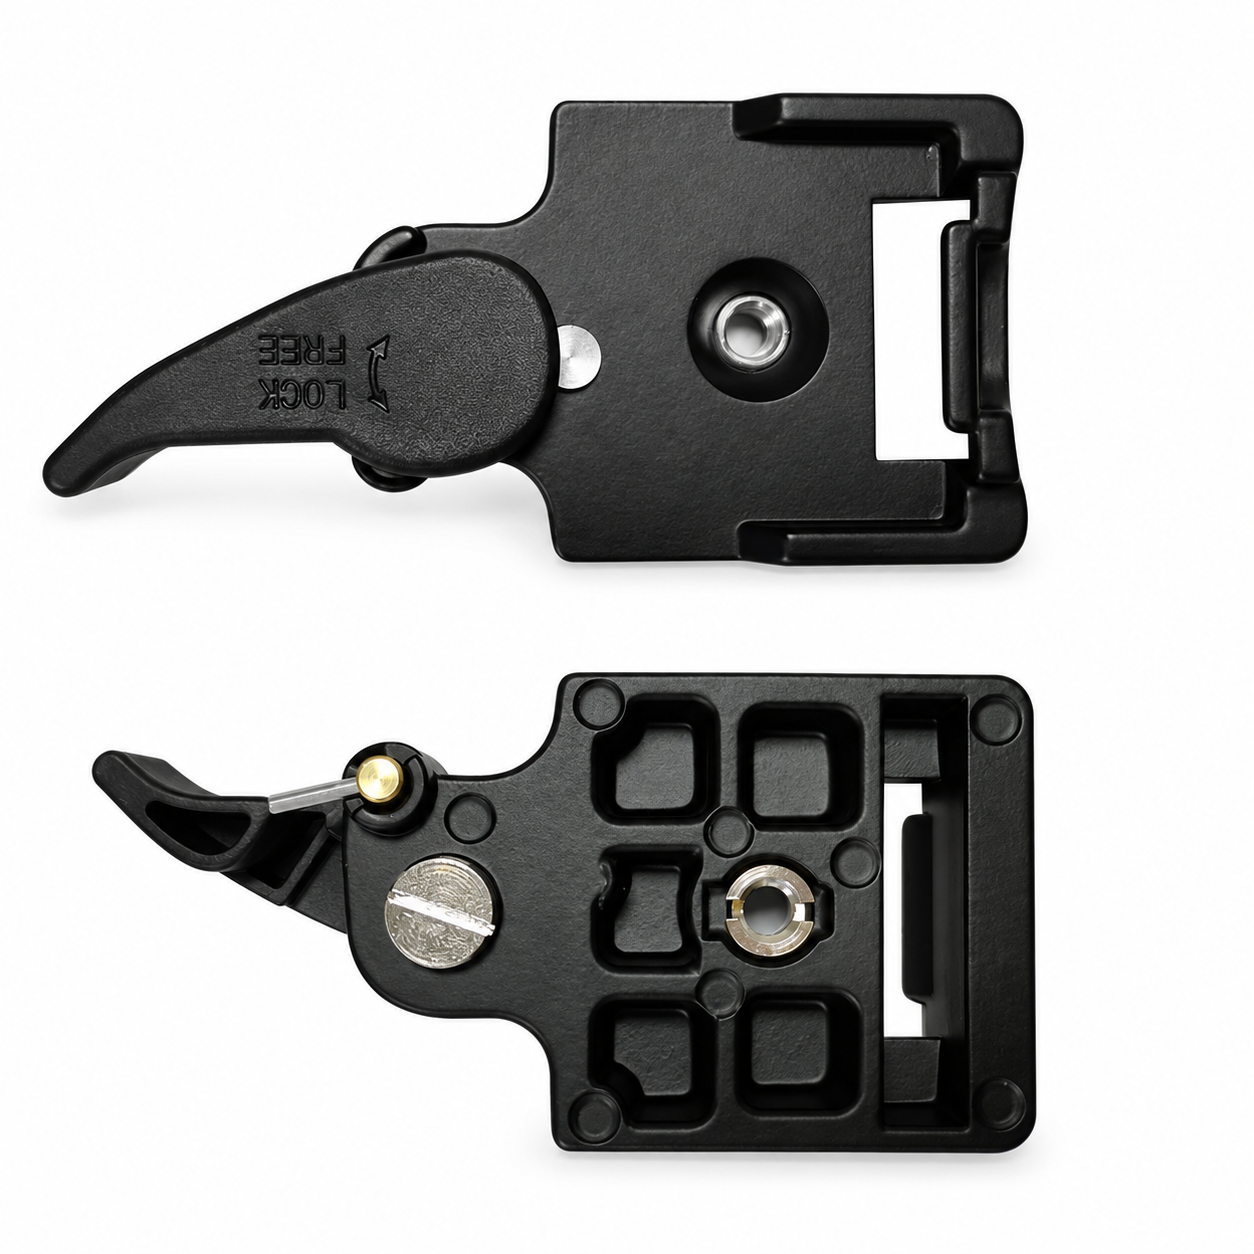
The set’s quick-release adapter includes one plate and one clamp, designed to be used together.
The plate attaches beneath the camera and the clamp attaches to the support. The camera and plate can then be removed together. These views identify parts, not the quantity supplied in a package.
 View full size ↗
Assembled plate and clamp. Background and text have been cleaned up; this is not evidence of dimensions or load capacity.
 View full size ↗
Upper and lower views of the same plate: the grip surface faces the camera; the screw has a ring underneath.
 View full size ↗
Front and rear views of the same clamp; functional LOCK / FREE markings are retained.
Mount and lock
- 1
Place the grip surface against the camera base. Align and secure the plate screw in the mounting socket; secure the clamp to the support. Do not cross-thread, force a fit or infer thread sizes from a photo.
- 2
Keep supporting the camera. Open the lever using its FREE marking, seat the matching plate fully, then secure it using the LOCK marking. Check any additional safety catch is engaged. Do not force a mechanism you do not understand.
Check before raising
- 1
Keep hold of the camera and gently check for rotation, movement or release between camera, plate and clamp at low height. A click or apparent engagement is not enough.
- 2
Raise the tripod according to its instructions only after all connections are secure. Reconfirm the field corners if the camera moves after setup.
Remove safely
- 1
Stop using the camera, lower the tripod and support the camera securely. Do not unlock it while the support is raised.
- 2
Release the lever and any applicable safety catch according to the actual markings, then remove camera and plate together. Never unlock first and catch the camera afterward, or move a raised tripod with the camera attached.
When to stop
- Stop if parts are loose, jammed, cracked, missing or incompatible. Contact support@ballr.cc.
- This guide does not specify universal compatibility, load capacity, torque or a fixed lever direction. Contact support if your parts differ or you cannot confirm a secure lock.
If your screen differs from this guide, check the camera model, App or firmware version, account role and organization service status.