
✓Tripod or fixed mount
✓Camera and phone can connect
✓Match has not started
Choose the position and set up
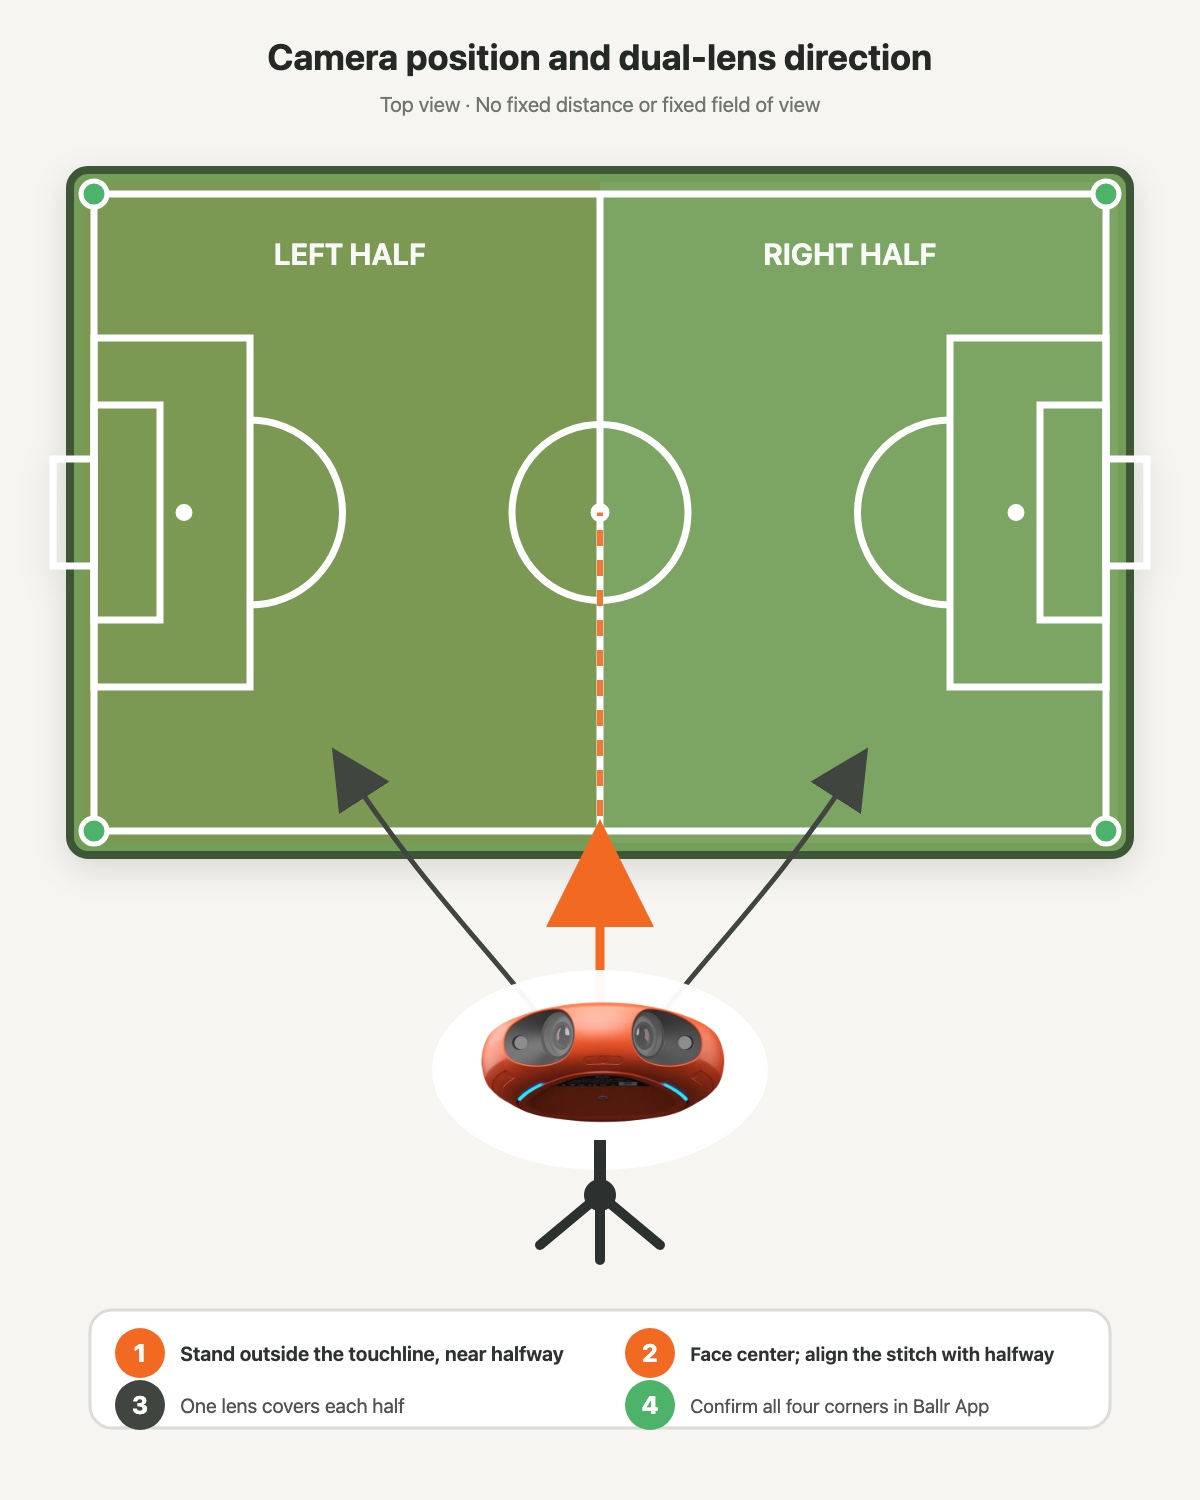
- Place the stand outside the long touchline near the halfway line, and align the camera with halfway as closely as practical.
- Use the center of the tripod as the reference and start about 3–5 m from the touchline. Make a small adjustment near halfway if fencing, walkways, spectators or safety constraints require it.
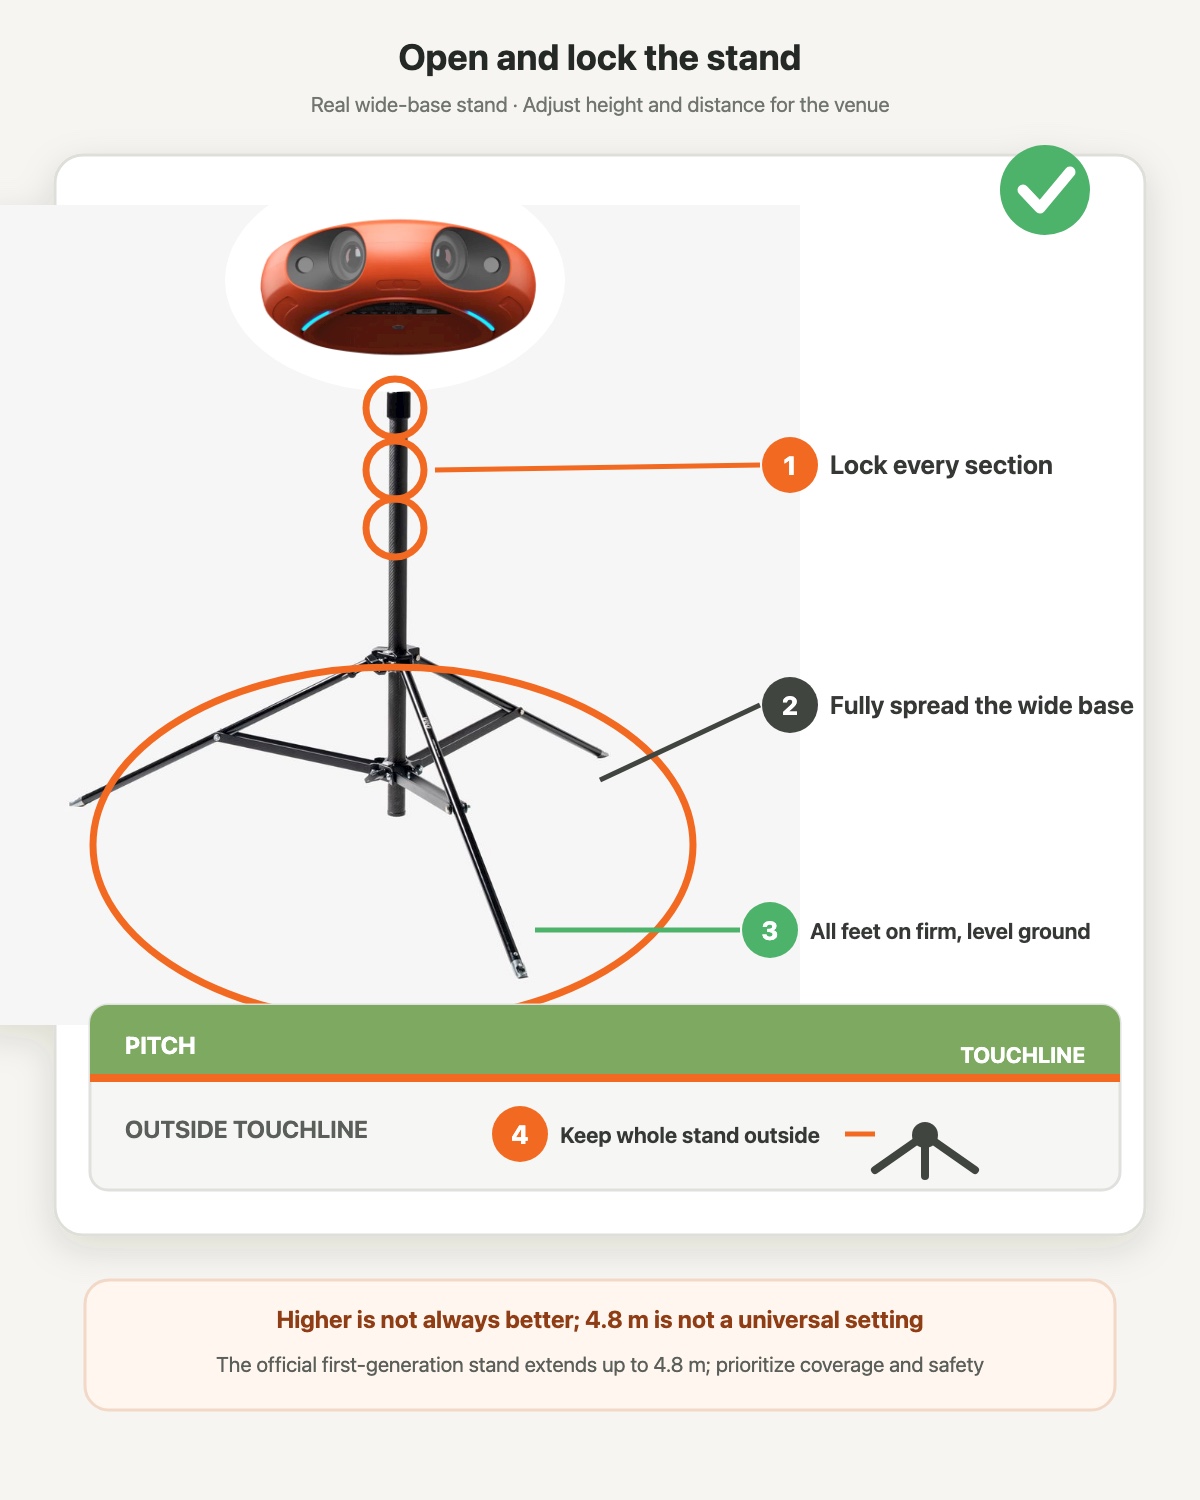
- Fully spread the wide base first, then raise the tripod to the specified height for the current stand and venue. Lock every section and the camera connection.
- After raising it, confirm that the camera remains level. Use the level indicator and the horizon or touchlines in the App preview; lower the stand before correcting any tilt.
- Aim the front of the camera toward the center of the pitch. The two lenses correspond to the left and right halves. If a visible stitch line appears, rotate the complete stand slightly so the stitch falls near halfway.
- All three feet must rest on firm, level ground. Use complete coverage, stand stability and venue safety as the final checks.
 View full size ↗
Keep the stand outside the touchline near halfway, starting about 3–5 m from the line, and align it with halfway as closely as practical. Aim toward the center, with one lens for each half; confirm all four pitch corners in Ballr App.
 View full size ↗
Fully spread the wide base, raise the stand to the specified height and lock every section. Keep all feet on firm level ground, the camera level and the complete stand outside the touchline. The first-generation stand extends up to 4.8 m, but that is not a universal specified height.
Avoid unsafe positions
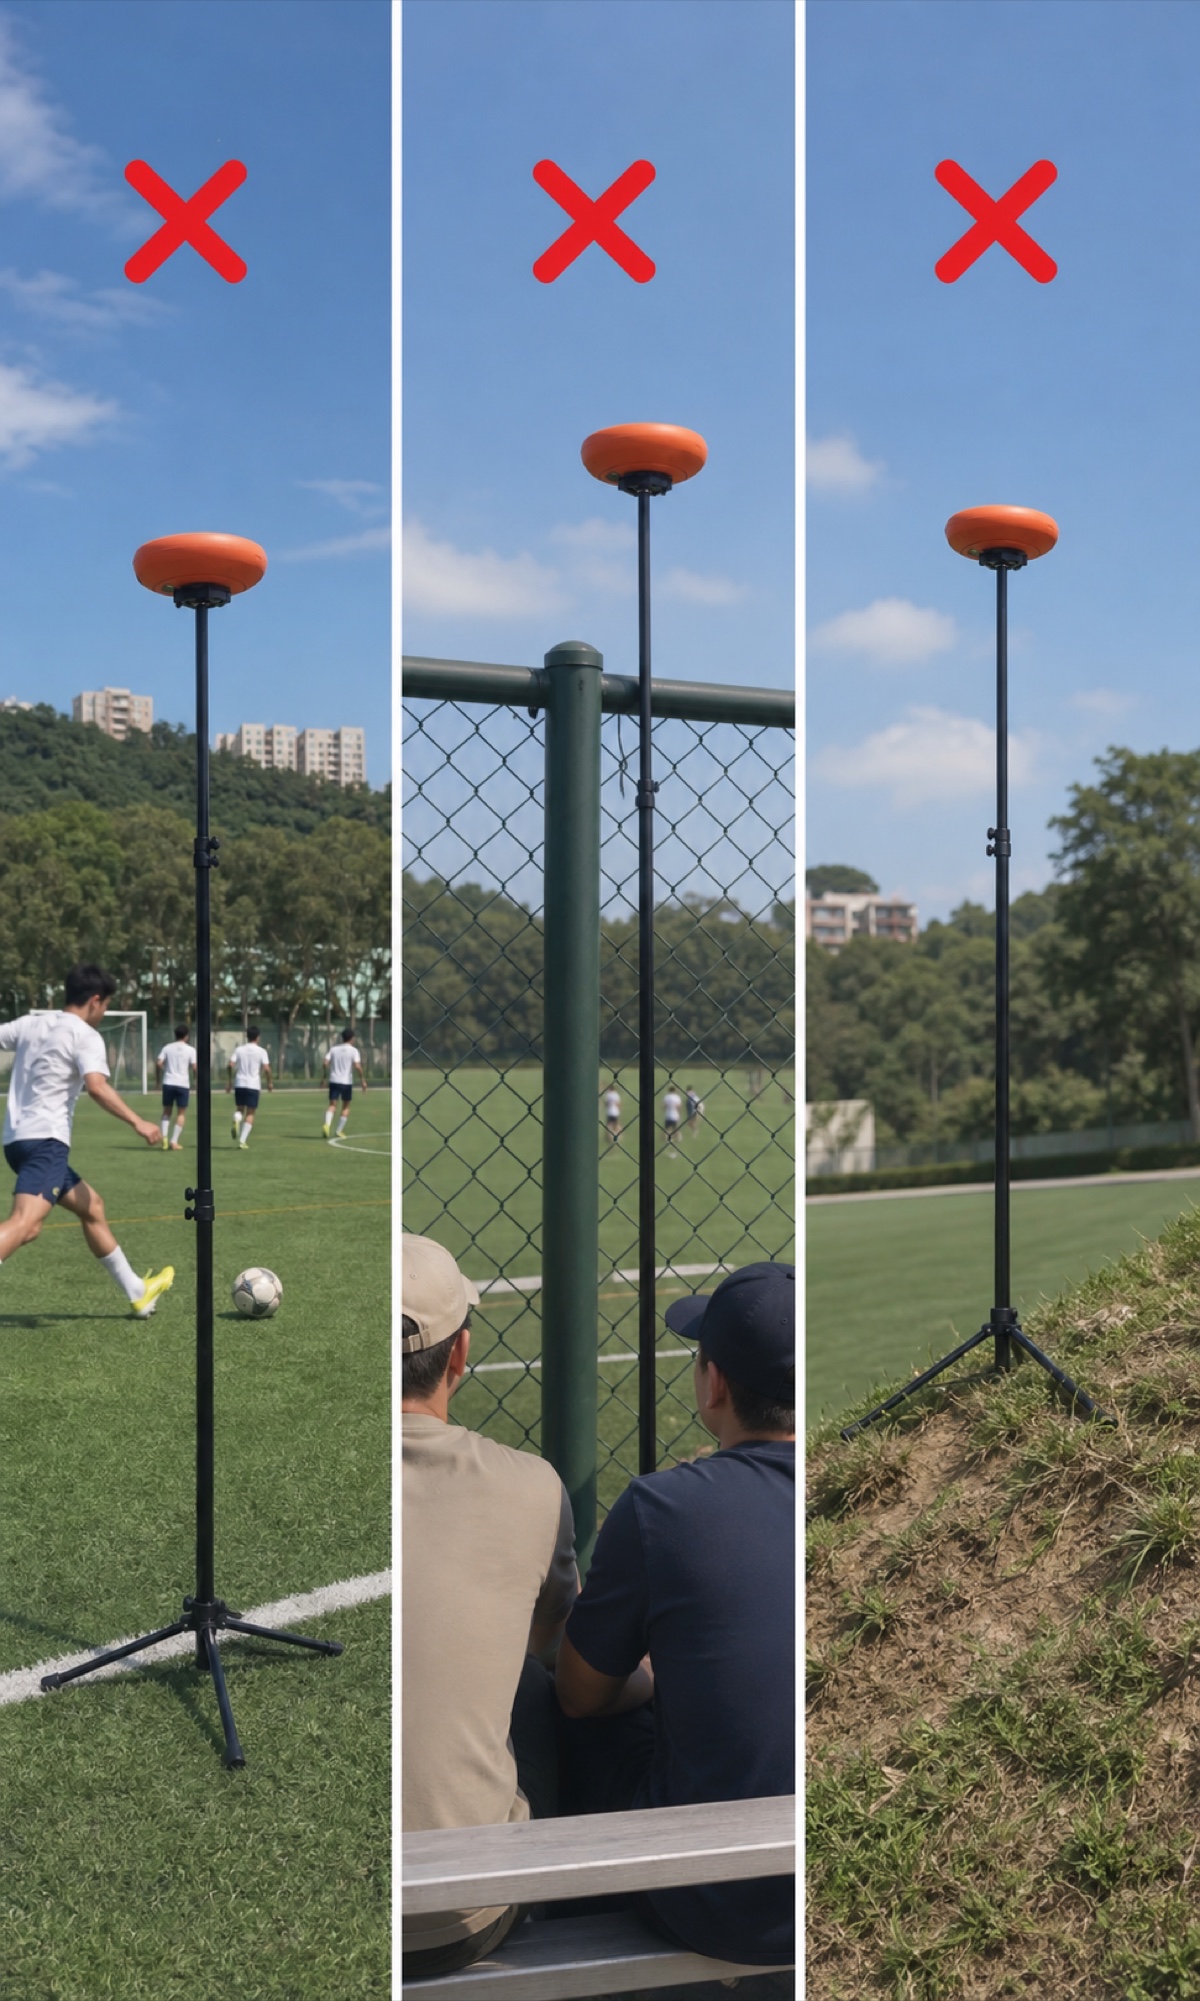
- Keep the entire stand outside the touchline. Do not place a foot on the line or into the playing area.
- Do not put railings, posts, netting, spectators or other objects between the lenses and the pitch.
- Do not use a slope, soft ground or any position where all three feet cannot stay stable.
 View full size ↗
Left: the stand enters the playing area. Center: fencing and a post obstruct the lenses. Right: a slope leaves the stand uneven. Move to a safe, level and unobstructed position outside the touchline.
Confirm field coverage in Ballr App
- 1
Open positioning preview in the App. Preview normally works directly when the phone and camera share Wi-Fi.
- 2
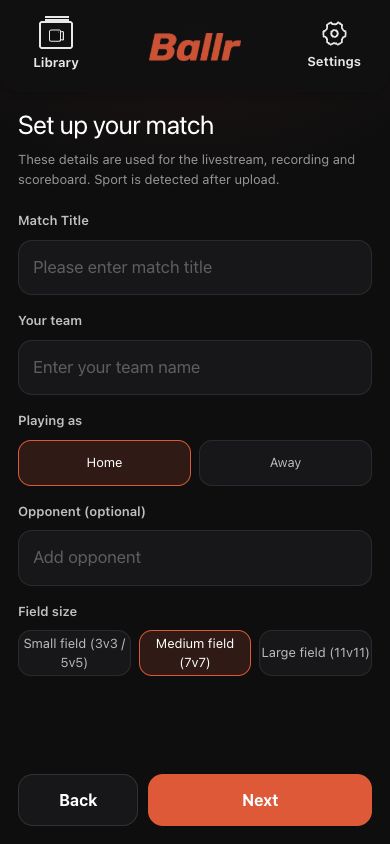
For a live match, first choose Small, Medium or Large to match the real pitch. This choice affects the next field-detection and boundary-confirmation steps.
- 3
Open Adjust field area. In left-half, right-half or full-field view, drag points 1–4 onto the real touchlines. Pinch or pan the picture when needed.
- 4
Confirm that the near, far, left and right corners are all inside the picture, then select Confirm field area.
- 5
Do not move the camera or tripod after selecting the corners and confirming the field area. If either must move, the old corners are invalid; reopen preview and select and confirm every corner again.
- 6
Record and review a short clip before the match to check level, exposure, stitch position and obstructions.
 View full size ↗
Choose Small, Standard or Large on the current live match information page, then tap Next to continue to destination, network and field-area checks. Pitch size affects the later detection workflow. The screenshot contains sanitized demo data.
 View full size ↗
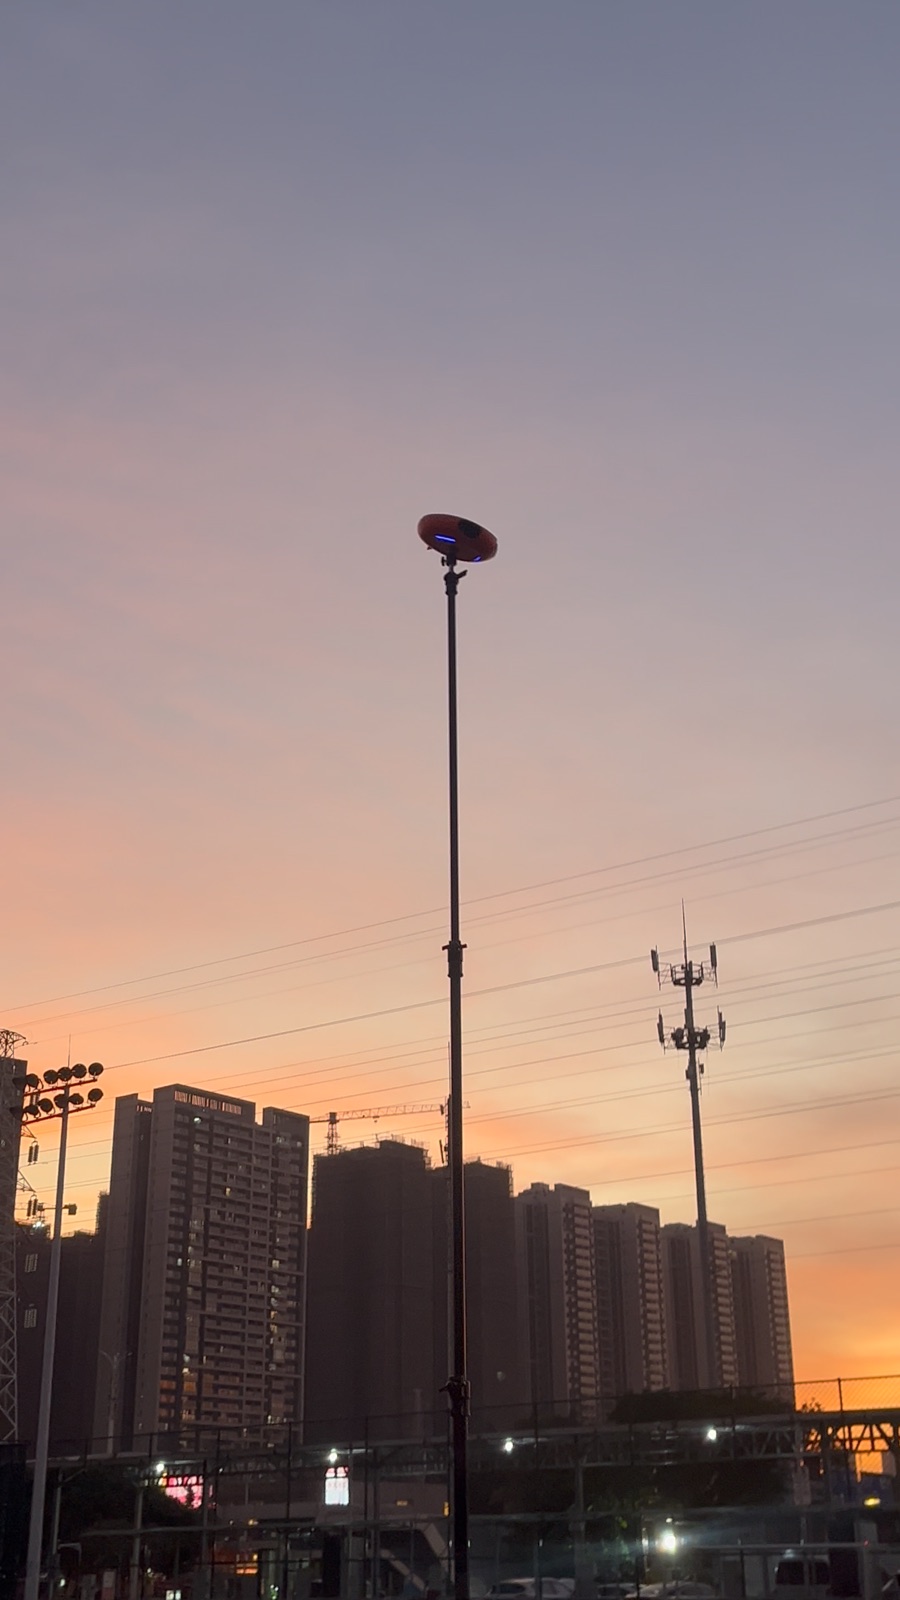
Confirm that the camera faces the center with no obstruction in front of the lenses, then return to Ballr App to confirm all four field corners and review a short test clip.
Final match-day check
- Camera near the halfway line
- Tripod center about 3–5 m from the touchline
- Tripod raised to the specified height and every section locked
- Camera level and facing the center
- Field corners confirmed and the camera has not moved since
- Stable power, clean lenses and a clear view
 View full size ↗
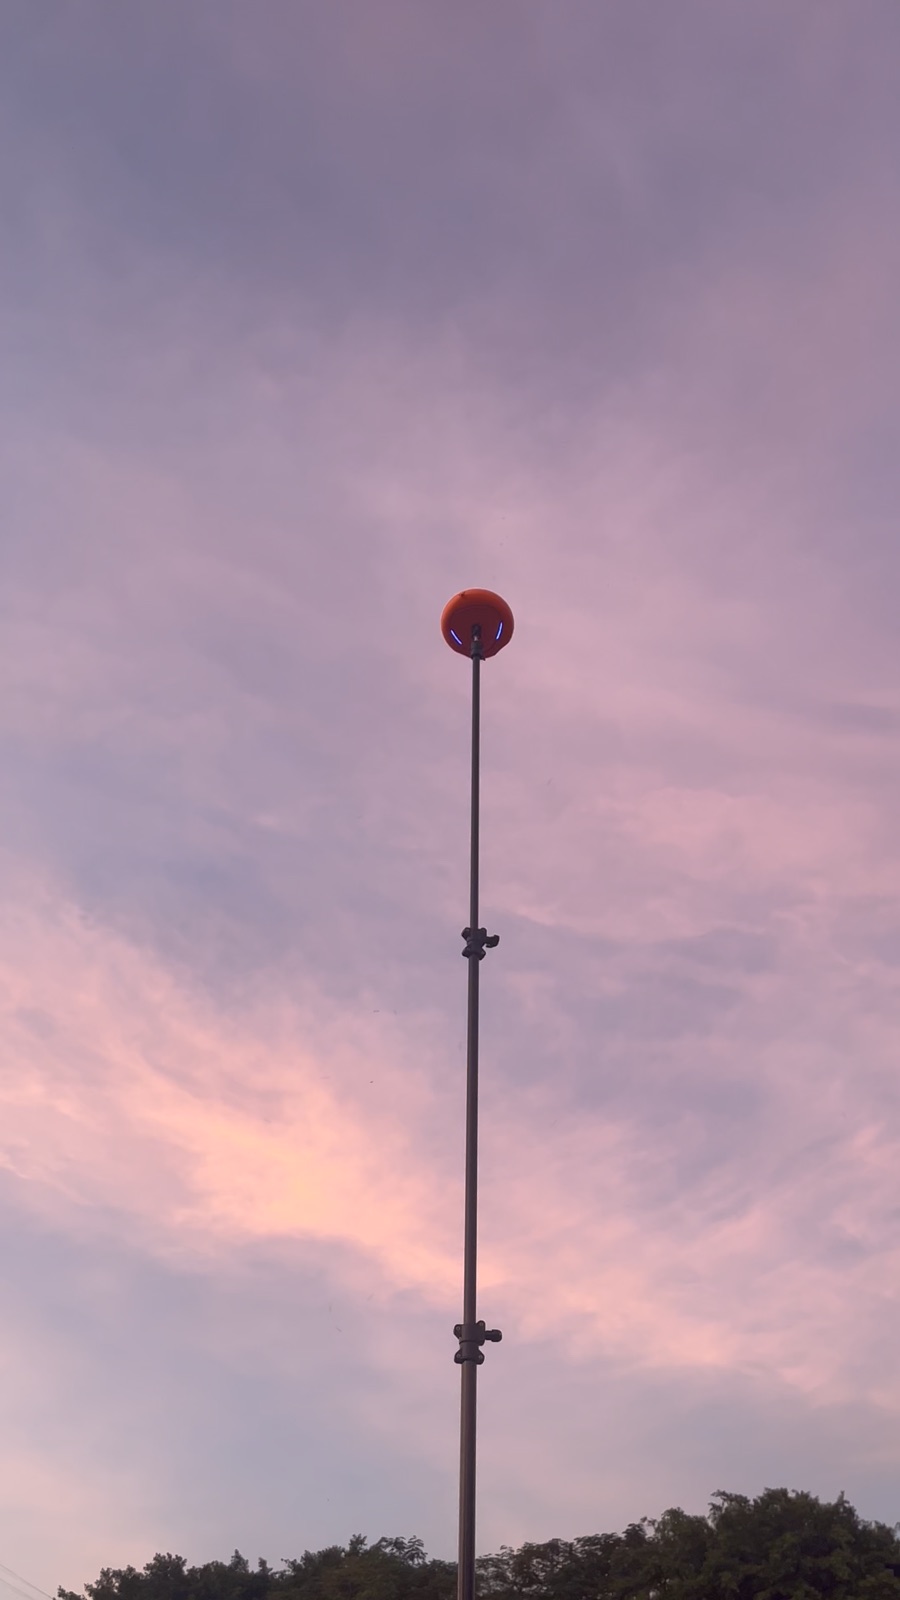
Spread and lock the wide base and confirm position before raising the camera. This approved field photo shows only the raised overall state; use the diagrams and Ballr App preview for final position, direction and field coverage.
If your screen differs from this guide, check the camera model, App or firmware version, account role and organization service status.