
✓Ballr App installed
✓A Ballr account you can sign in to
✓Bluetooth and Wi-Fi enabled on the phone
Before you begin
- Fully charge the camera. Use a stable external power source for important matches.
- Make sure the storage card is installed and shown as healthy in the App.
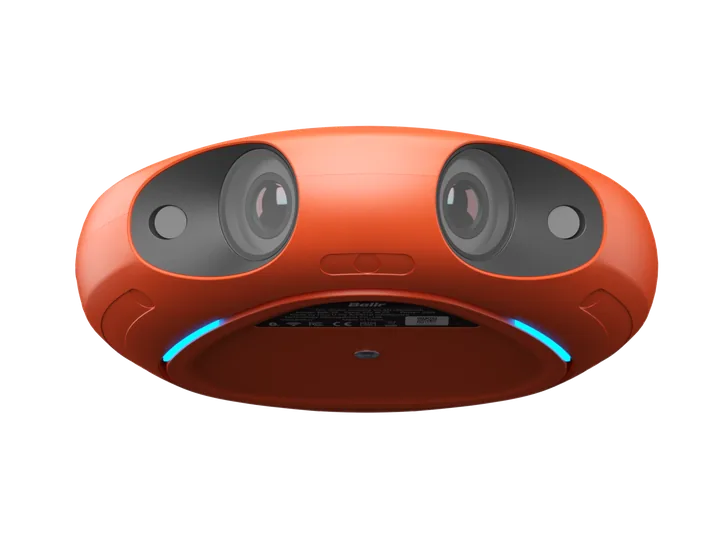
- Find the 12-digit device ID on the body or base label. You will need it for binding and support.
- Keep the camera near the phone during the first connection.
 View full size ↗
Check the camera, storage card, power and device ID before opening the App. Appearance may vary slightly by production batch.
 View full size ↗
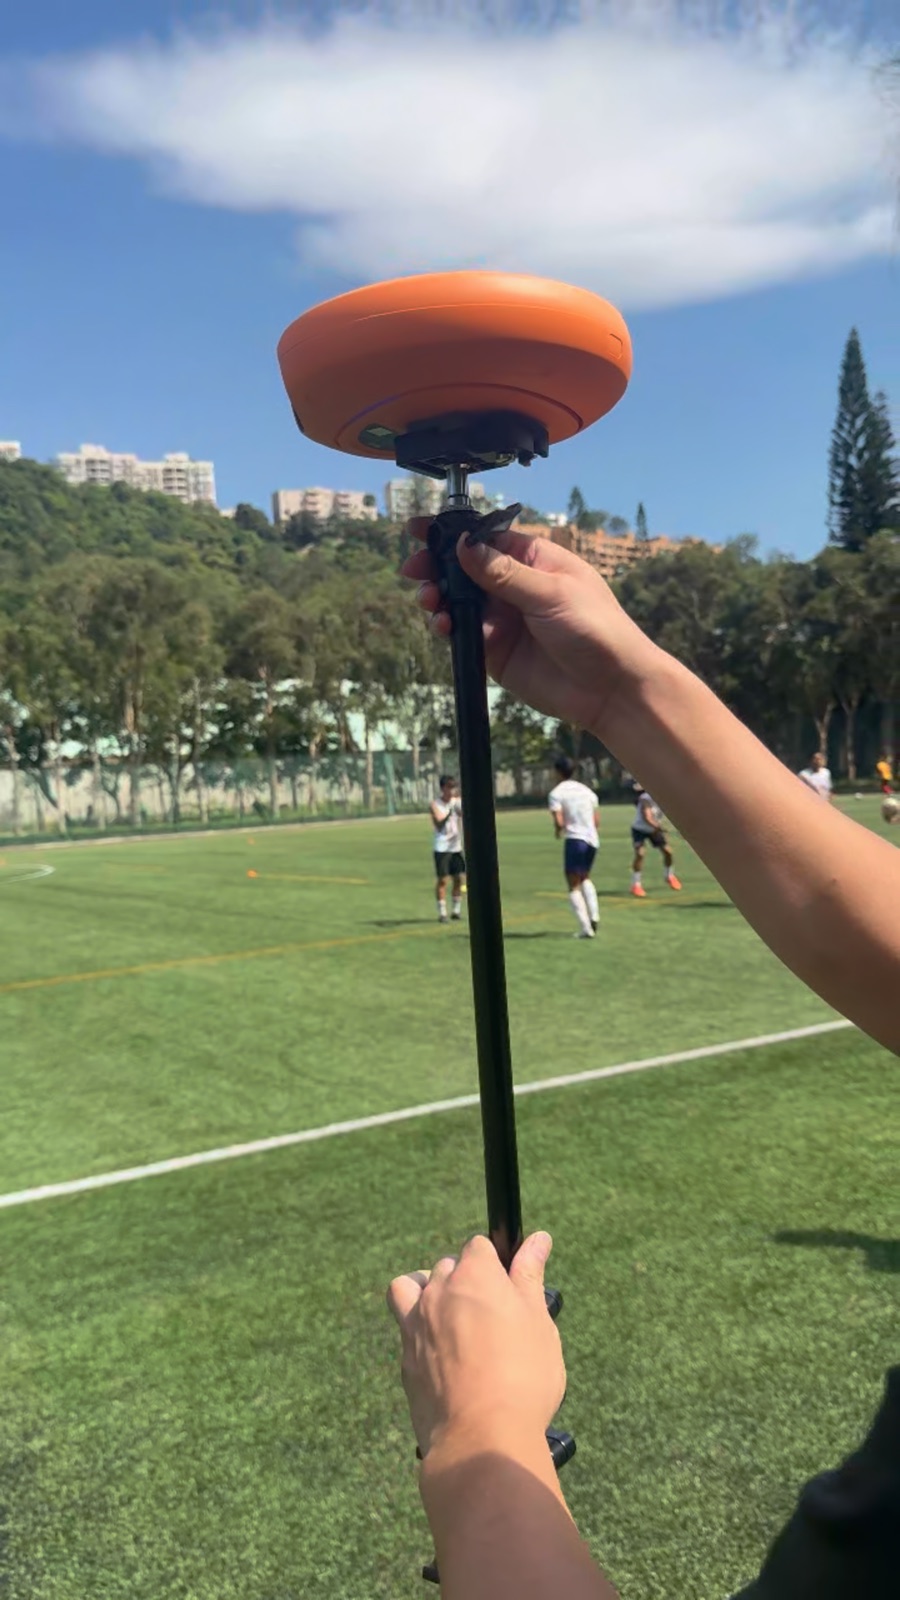
Lock the camera-to-mount connection before raising the stand. This approved field image comes from the Ballr standard material library.
Power on and connect
- 1
Turn on the camera and wait for the status light to settle.
- 2
Open the Ballr App and sign in.
- 3
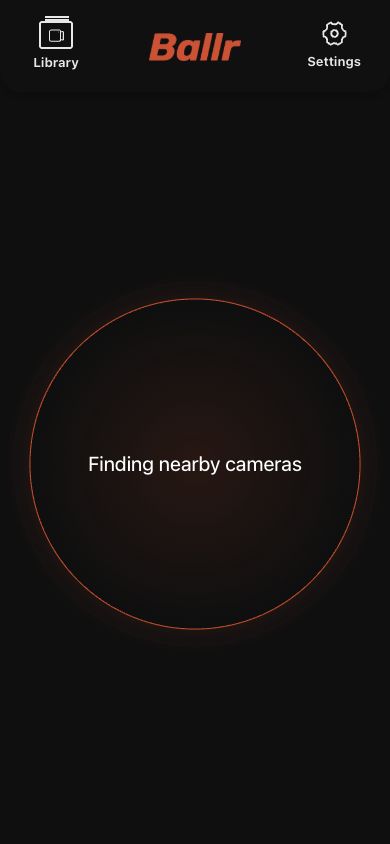
On the Camera page, select a device already bound to your account. Check its name or device ID if several are listed.
- 4
Allow Bluetooth, nearby-device and local-network access when iOS asks.
- 5
Continue only after the App shows that the camera is ready.
 View full size ↗
Complete this step on the App's Camera page. Wait for discovery, verify the device name and ID, and select only a camera marked bound and available.
Complete a short test recording
- 1
Check image orientation, battery, storage and temperature.
- 2
Create an easy-to-recognize test recording name.
- 3
Start recording and wait for the status to change to Recording.
- 4
After about 30 seconds, stop from the App and wait for the safe-save confirmation.
- 5
Confirm the file appears in the camera library before deciding whether to upload it.
If your screen differs from this guide, check the camera model, App or firmware version, account role and organization service status.