
✓Camera powered on and nearby
✓Phone Bluetooth enabled
✓Camera bound to this account
✓iOS Local Network access is enabled for Ballr
Connect a camera
- 1
Open Camera and choose Connect camera or Select camera.
- 2
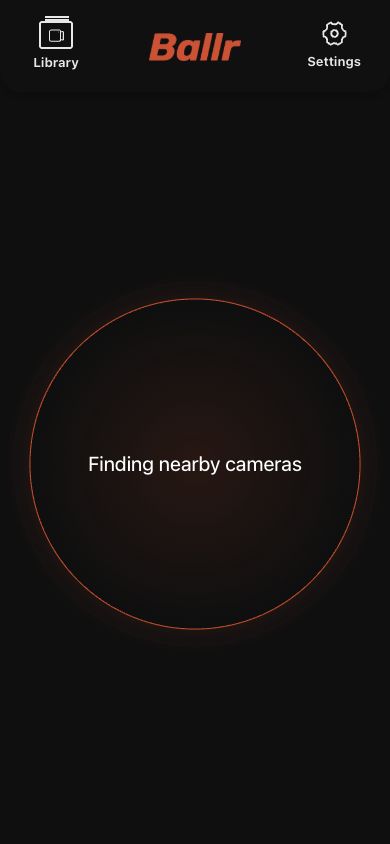
Wait while the App scans. It keeps searching until every camera bound to the account is found or the roughly 30-second limit is reached, so cameras may appear gradually.
- 3
Choose a camera marked Bound and available.
- 4
If the currently selected camera is disconnected, select that same camera again to start an explicit reconnect; the App will not ignore it as an unchanged selection.
- 5
Wait for Bluetooth, camera information and camera service to complete in sequence.
- 6
If iOS asks to join the camera hotspot, confirm as instructed.
- 7
If the camera can be found or selected but its status, controls or firmware transfer do not work, check Local Network access for Ballr.
 View full size ↗
Current Ballr App 2.2.162 Camera interface while it discovers nearby devices. Select only a device bound to the account with the matching device ID.
Switch cameras
- 1
End any active recording or stream first. Active tasks prevent switching.
- 2
Return to camera selection and scan again.
- 3
Check the name, device ID and bound organization before selecting.
- 4
After selection, scanning stops before connection starts. Wait for this attempt instead of tapping repeatedly.
- 5
Wait until the new camera name, device ID and capture state have all refreshed. Do not treat the previous camera's recording or capture message as the current state.
If your screen differs from this guide, check the camera model, App or firmware version, account role and organization service status.