
01
Before uploading
- Confirm the recording ended and was saved safely.
- Prefer stable broadband Wi-Fi without a sign-in page. Large files can use substantial 4G data.
- Keep the camera powered and ventilated during upload.
02
Start uploading
- 1
Open Recordings → On camera and select the recording.
- 2
Tap Upload to cloud. Open connection settings first if the camera is offline.
- 3
Watch progress; pause, resume or retry after a failure.
- 4
After upload, the recording enters cloud processing and may not be playable immediately.
 View full size ↗
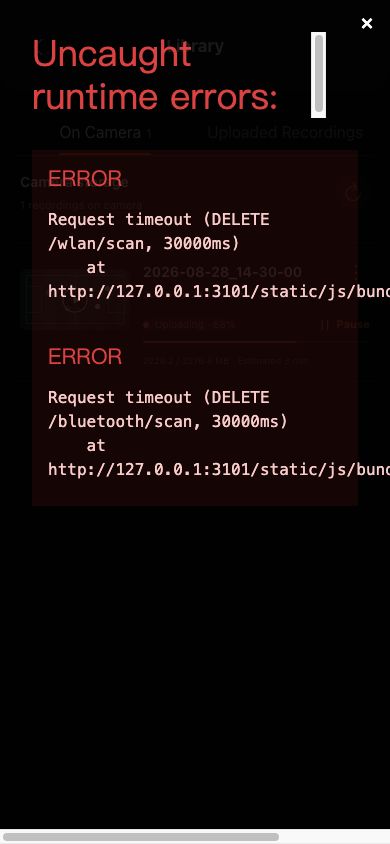
In Recordings → On camera, review percentage, transferred size, estimated time and the pause control. Recordings not yet submitted show Upload. The screenshot contains sanitized demo data.
Complete
If your screen differs from this guide, check the camera model, App or firmware version, account role and organization service status.
Did this guide solve the issue?Send feedback