
Before opening
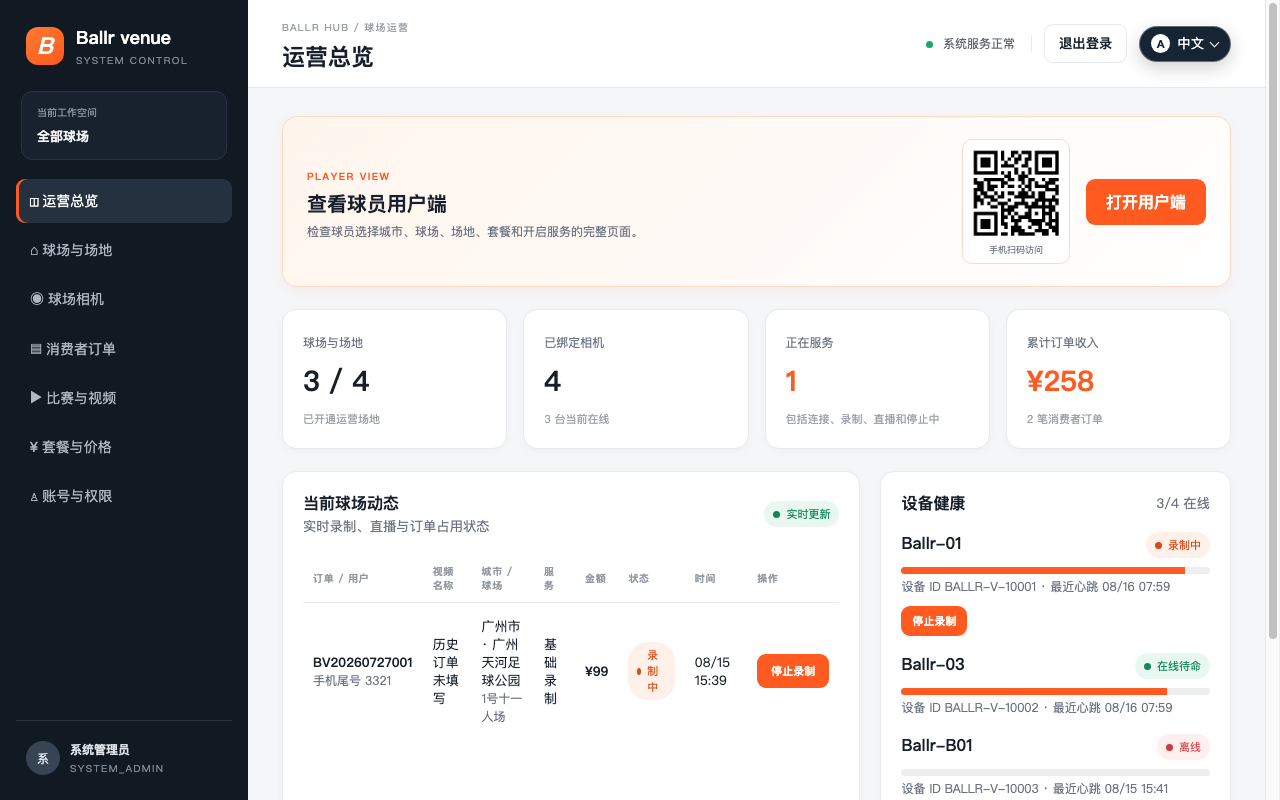
- On the operations overview, confirm venue cameras are online and have no other active orders.
- Open the player site or scan its QR code to confirm field, package and price.
- Check live-view permission and playback address configuration.
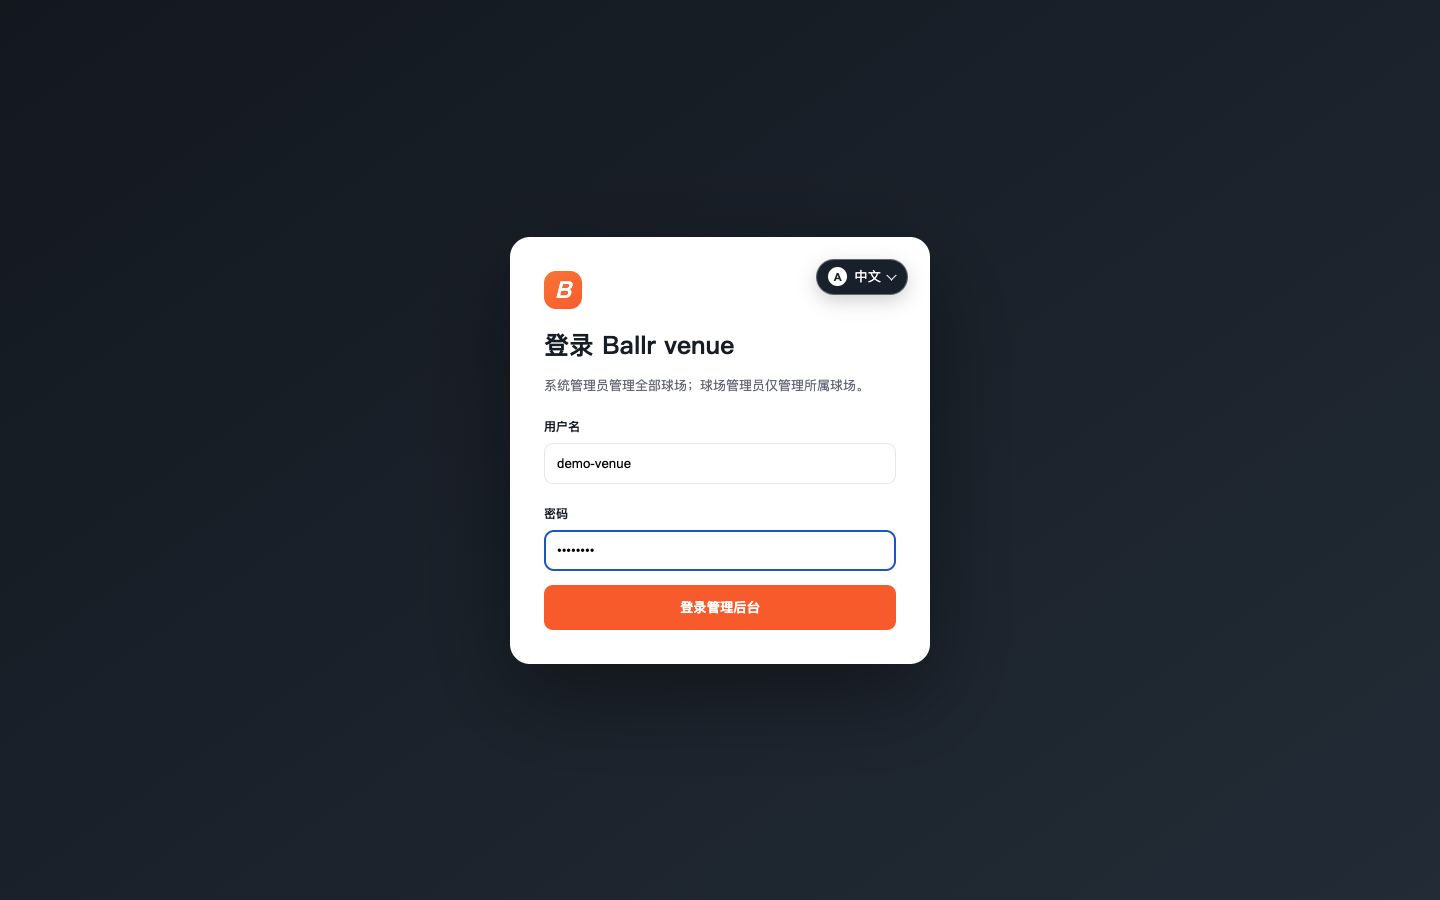 View full size ↗
Current production Venue 0.25.6 administration sign-in interface. It uses a non-working demo username and password placeholder; players instead use the on-site QR code or /play.
 View full size ↗
This real product screenshot identifies the workflow path. Follow the version note and current on-screen labels; replace an older versioned image with a sanitized current screenshot before publishing.
During and after service
- 1
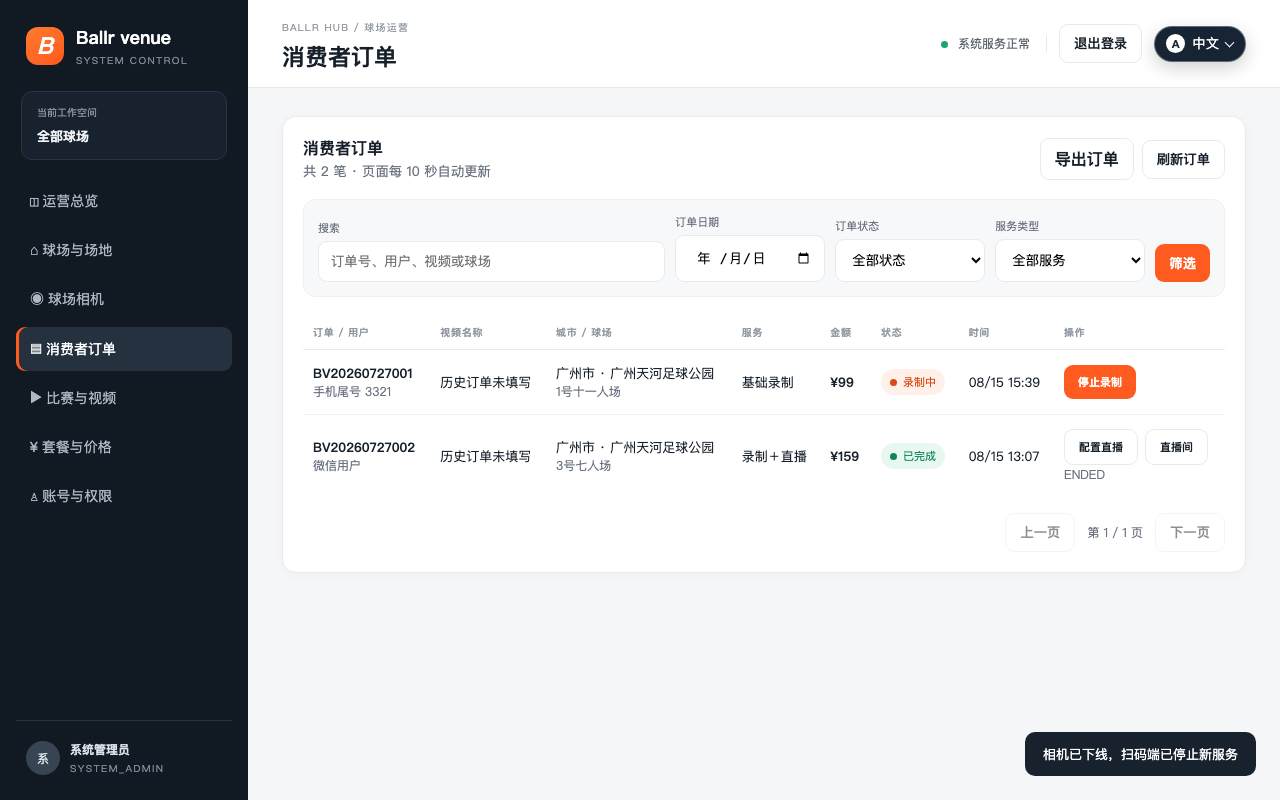
Filter customer orders by keyword, date, state or service type.
- 2
To keep a report, retain the active filters and select Export orders; the CSV contains only the current filtered results.
- 3
Follow the order from Waiting to start through Connecting camera to Recording or Live.
- 4
Treat live as successful only when real video appears in the viewer room.
- 5
Stop recording or live streaming after the match.
- 6
Wait for a successful camera acknowledgment, then confirm the order is complete and the camera is idle.
- 7
Before Force offline, read the affected active orders. The system blocks new QR services and attempts to stop active recording or live, but remaining exception orders still need review.
 View full size ↗
This real product screenshot identifies the workflow path. Follow the version note and current on-screen labels; replace an older versioned image with a sanitized current screenshot before publishing.
Change your own password
- 1
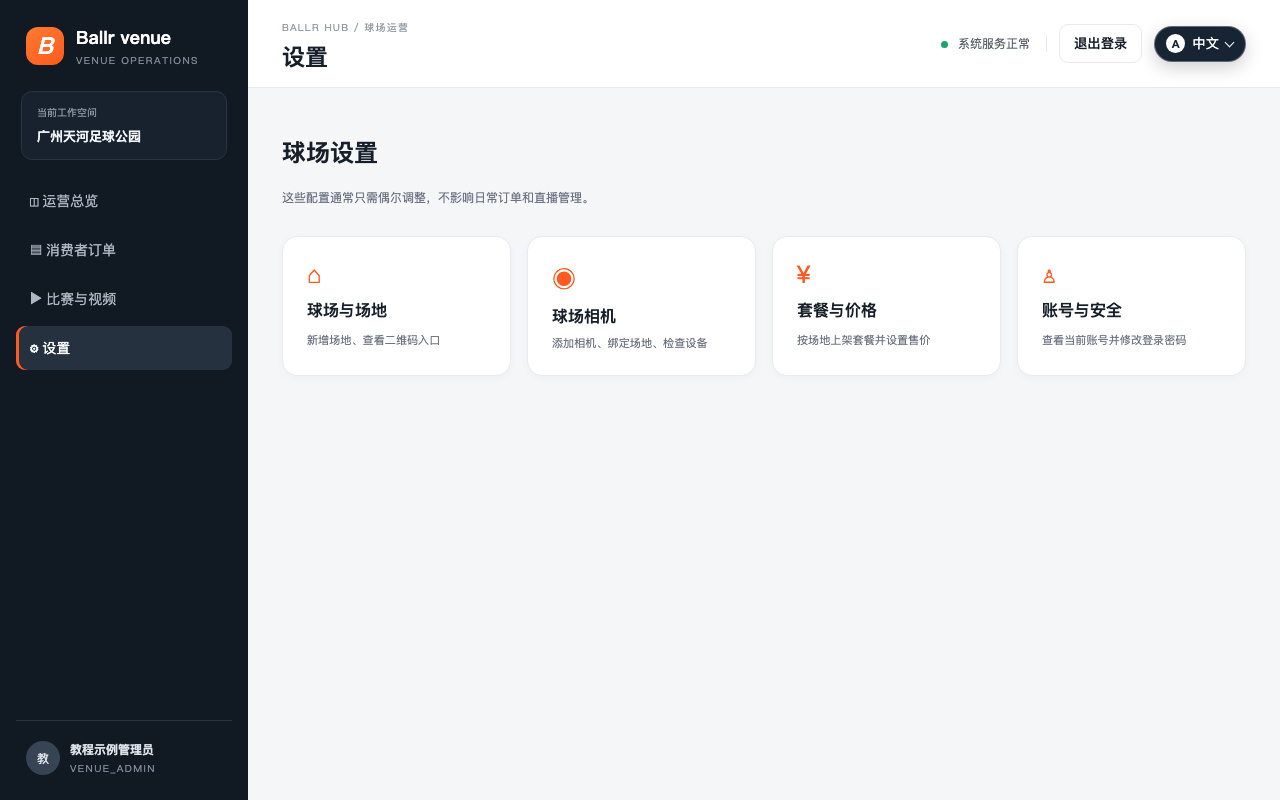
Open Settings → Account & security and select Change password.
- 2
Enter the current password, a new password of at least 8 characters and confirmation.
- 3
After saving, sessions on other devices are signed out while the current device stays signed in.
- 4
Verify one fresh sign-in with the new password; never include passwords in chats, tickets or screenshots.
 View full size ↗
This real product screenshot identifies the workflow path. Follow the version note and current on-screen labels; replace an older versioned image with a sanitized current screenshot before publishing.
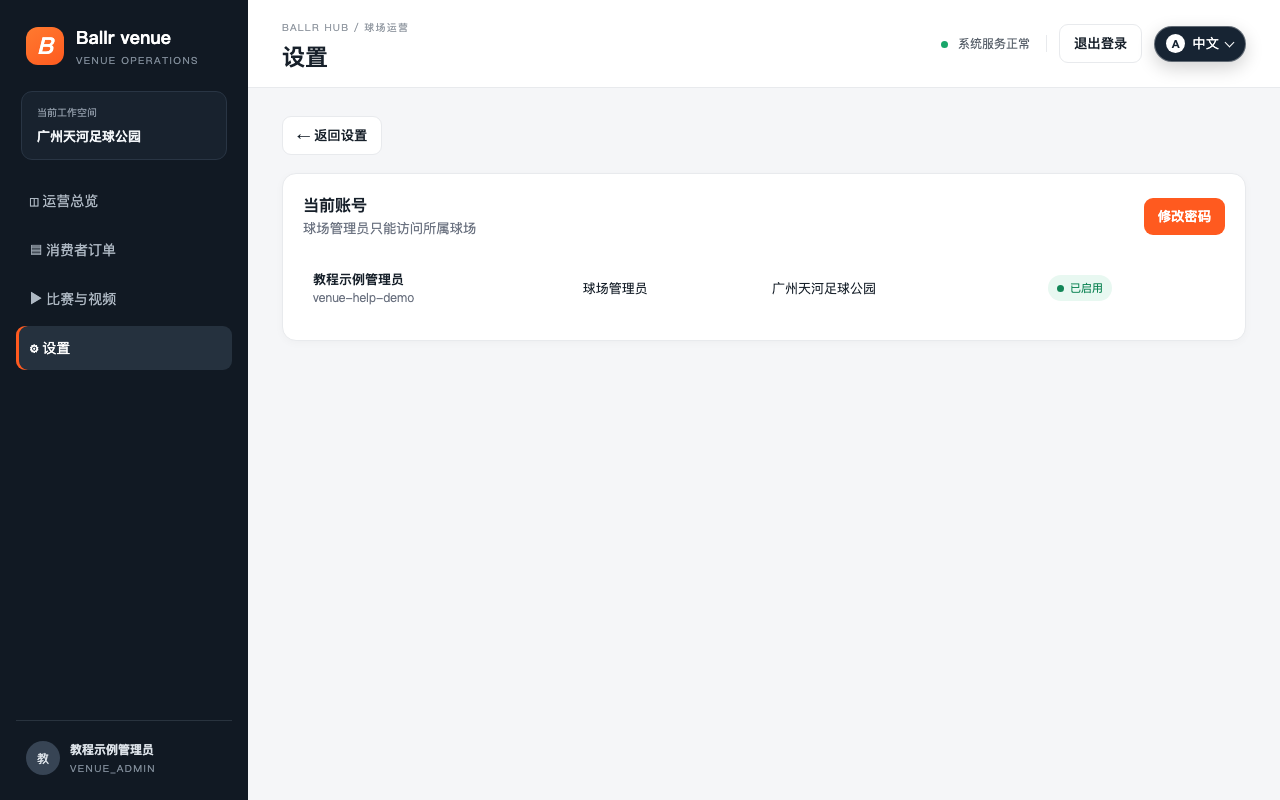 View full size ↗
This real product screenshot identifies the workflow path. Follow the version note and current on-screen labels; replace an older versioned image with a sanitized current screenshot before publishing.
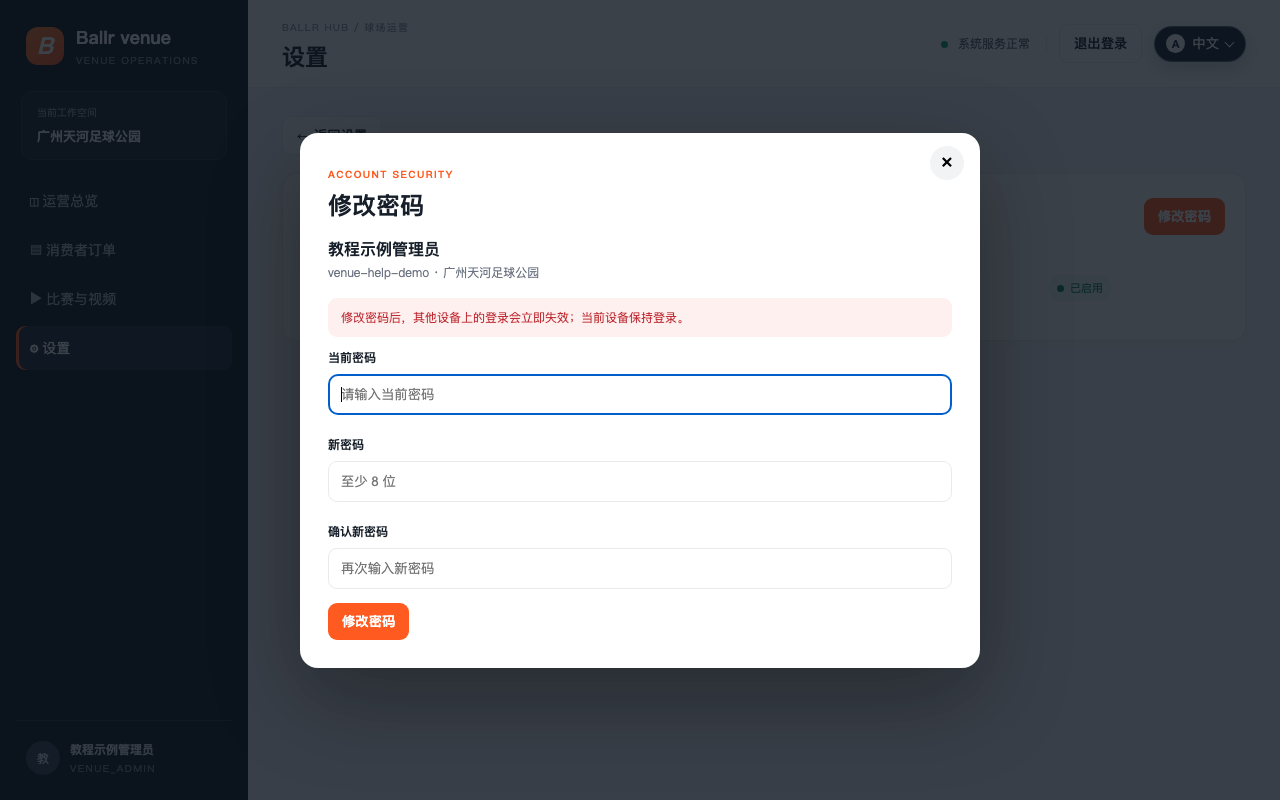 View full size ↗
This real product screenshot identifies the workflow path. Follow the version note and current on-screen labels; replace an older versioned image with a sanitized current screenshot before publishing.
If your screen differs from this guide, check the camera model, App or firmware version, account role and organization service status.