
Recommended order
- 1
Sign in to Hub and confirm the workspace name.
- 2
Create or complete the team profile.
- 3
Add members and assign club administrator, team administrator or player roles.
- 4
A club administrator opens Cameras, selects Bind to team, enters the real device ID and chooses the target team.
- 5
A team administrator opens Cameras and selects Add camera; the current Hub2 adds it to the user's sole current team without another selector.
- 6
Sign in and connect the camera in the App, then confirm Hub can read its status.
- 7
Upload a test recording and confirm it enters the correct team's library.
 View full size ↗
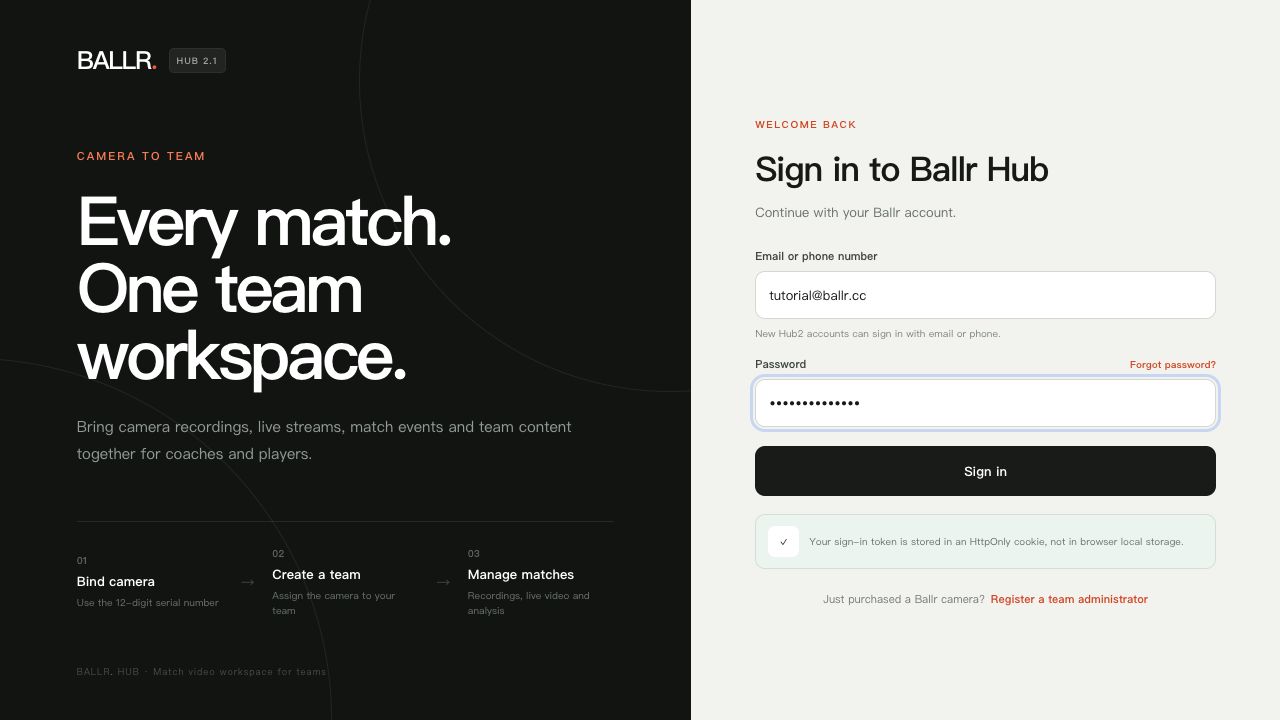
English Hub2 2.3.171 screenshot retained only as a path reference. Current production is Hub2 2.3.180; follow the current labels shown on screen.
Setup is complete when
- Members see only the teams and recordings within their responsibilities.
- Camera name, model, network version and device ID match.
- The test recording belongs to the correct team and becomes playable before more members are invited.
Add club and team logos
- A club administrator opens Settings → Basic profile to upload the club logo.
- A team or club administrator uploads the team logo from the team workspace.
- Use PNG, JPG or WebP up to 5 MB; a clear square image works best.
- After saving, verify the logo in navigation, recording history and sharing views.
If your screen differs from this guide, check the camera model, App or firmware version, account role and organization service status.