
Sign in
- 1
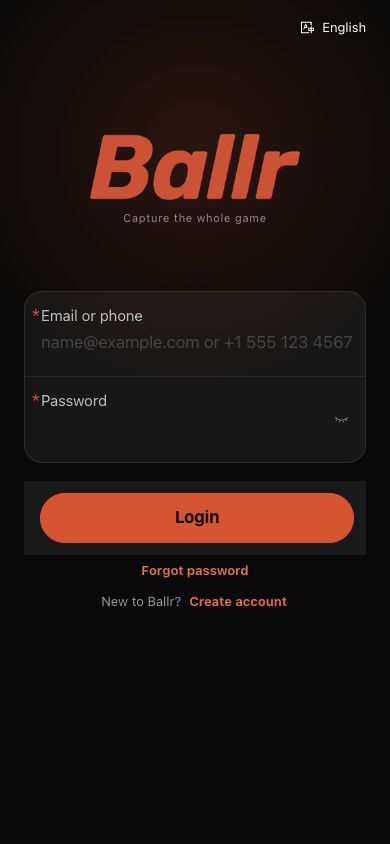
Open the Ballr App.
- 2
Enter the registered email address or phone number. Include the country code for international numbers.
- 3
Enter the password and sign in.
- 4
Open camera selection and confirm the bound device is listed.
 View full size ↗
Current Ballr App 2.2.162 sign-in interface. Email and phone sign-in are supported, and the screenshot contains no account details.
New account
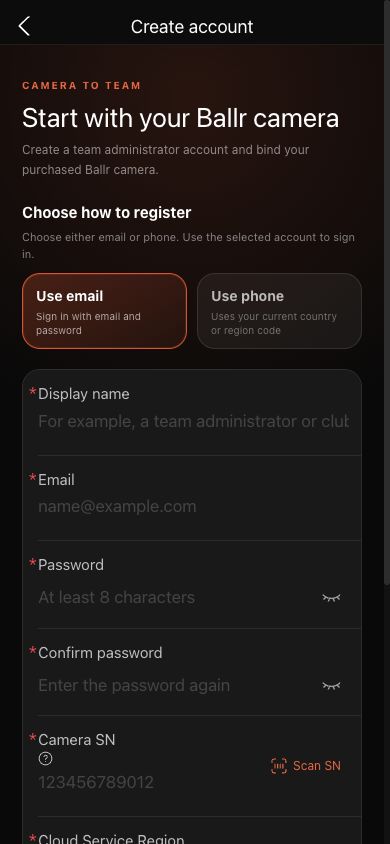
- Enter a display name, choose email or phone registration and create a password of at least eight characters.
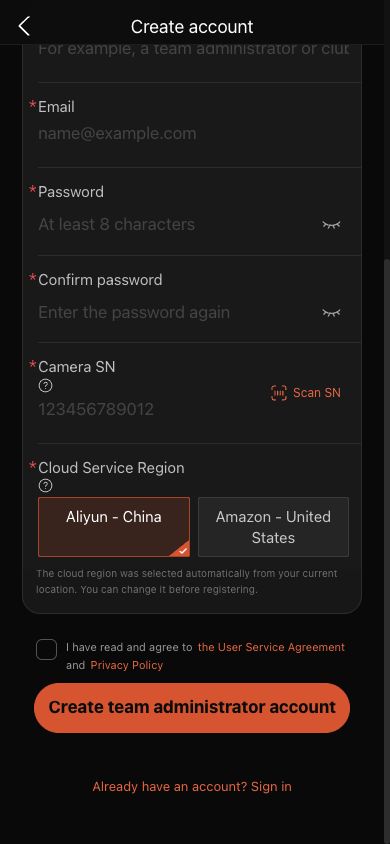
- Enter the real 12-digit SN printed on the purchased camera, or use Scan SN.
- Confirm the cloud-service region suggested for your location before registration.
- Camera ownership is configured by a club or team administrator in Ballr Hub. Registration does not grant access to every nearby camera.
- If another organization purchased the camera, ask its administrator to invite or bind your account.
 View full size ↗
Current Ballr App 2.2.162 registration interface. Choose email or phone and enter the display name and password; no account details are shown.
 View full size ↗
Continue down the same page, enter the real 12-digit camera SN and verify the cloud-service region before creating the account. No real device ID is shown.
If your screen differs from this guide, check the camera model, App or firmware version, account role and organization service status.